£0.00
Out of Stock
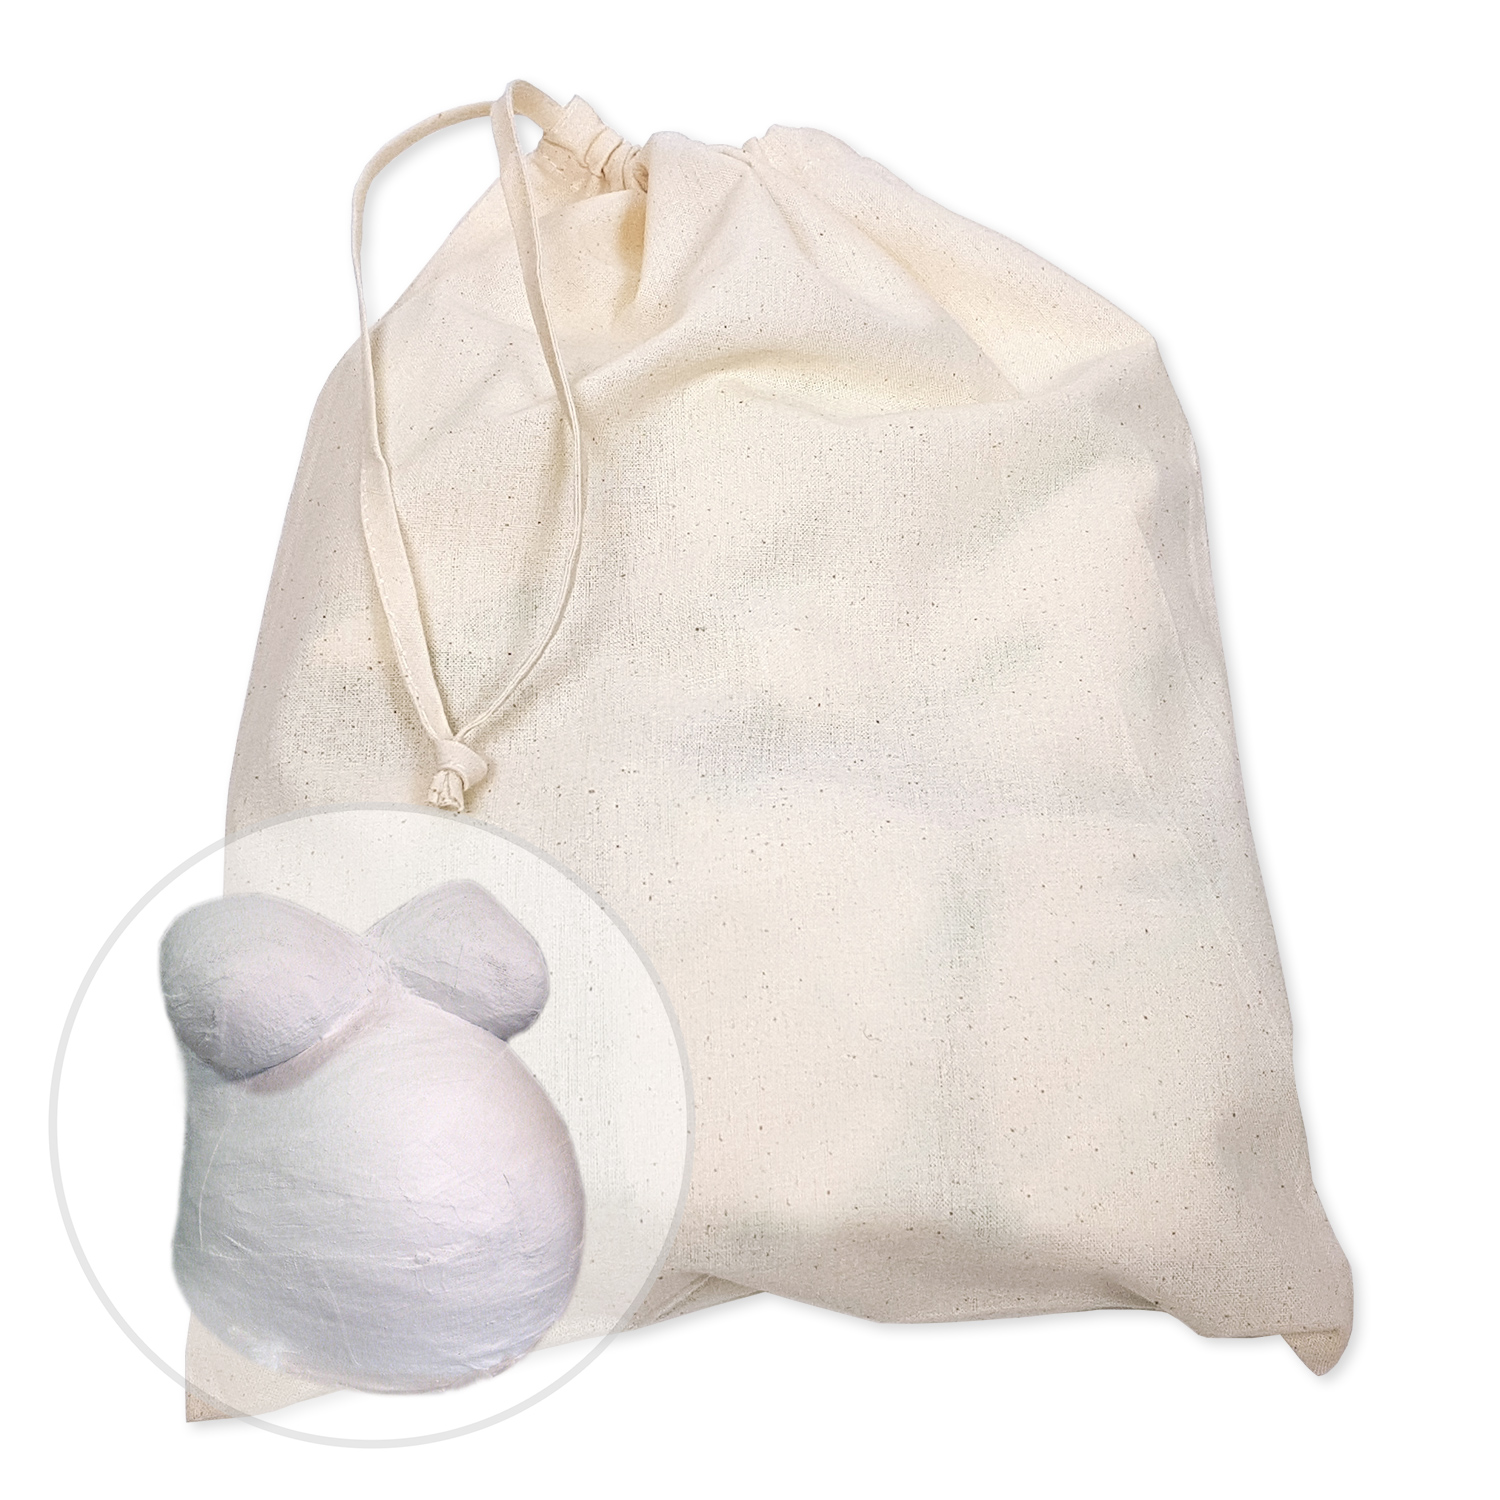

Belly Casting Kit
£19.50
Out of stock
Description
- Make a perfect replica of your pregnant belly
- Comes in a Cotton drawstring gift bag, and contains all you need to make a cast
- Plaster bandages, apron, gloves, petroleum jelly, sandpaper & full instructions
- An ideal gift for family & friends
- Remember your pregnancy forever with a casting
Creating a cast of your pregnant belly gives you something you can treasure for your lifetime, and will be a cherished memory of when you carried your baby inside you. Our belly casting kit enables you to make a cast yourself in the comfort of your own home, though if you intend to cast your own belly – it’s a good idea to get someone to help you.
Whilst making your cast, you might want to choose some nice music and light a few candles to make the experience one to remember. Enjoy a fun day with a close friend – it will be one that you’ll remember forever. It’s a fairly simple process to cast a belly using plaster bandages, though please read our instructions carefully first, before starting.
The best time to cast your belly is in the latter stages of your pregnancy, ideally in the last month, though some women like to do it a couple of times to see the difference in size(additional kits would be required). The whole process takes around 30 minutes, and we’ve included simple step-by-step instructions below.
Steps
- Choose a suitable area to do the casting, ideally with plenty of space around you. Lay something down to protect the floor from mess (bin bags work well).
- Wear comfortable clothes, and find a position that is the most comfortable to sit in for a while. You can stand or sit in a chair, leaning back slightly. Be sure to protect any chairs from mess though.
- Remove any jewellery, and remove all clothes on your top half
- Cut the bandages into various strips of 6” to 12” in length
- Apply the petroleum jelly liberally to the areas being cast (belly, breasts etc), making sure to spread to all areas that the bandages will come into contact with.
- Take the first strip of plaster, and dip into the warm water, before running it through your fingers to get rid of any excess water. They shouldn’t drip too much, but should be wet enough for them to stick.
- Smooth the bandage over the first part of the belly near the top, and rub down with your fingers.
- Take the next bandage, and repeat, overlapping them slightly to create a strong join. You’ll need to work fairly quickly as the strips dry in around 5 minutes
- Use short strips for the breast area, and longer strips for the belly (chop in half if you wish)
- It’s important to apply the strips in differing directions to increase the strength of the cast
- Once the entire torso desired is covered, allow a few extra minutes to make sure the cast is fully dry, then slowly start to remove the new cast from the skin
- Allow around 24 hours for the cast to dry completely
- Once fully dry, use the supplied sandpaper lightly to smooth any imperfections down, and tidy the edges as required
Well done! You now have a casting of your baby bump. Once the little one arrives, turn the cast upside down and you can visualise how they once lived inside you.
JC –
Easy to use albeit a little messy with all the powder coming off the bandages.