£0.00

Fabulous Father’s Day Crafts for Children
Every year each parent is able to have one full day that is all about them. We do this to show appreciation for all the work that they do for us, and a great way to make their day even more special is by buying or creating them a gift. So, today we have created a list of crafts you can make for your dad on father’s day.
Gift Card
For many years, people have been fascinated by the idea of winning the jackpot from a scratch card as it will change your life forever. However, the probability of winning the big prize is very slim and not many people win it. But what if you could have a scratch card and are guaranteed to win – sounds crazy right? We’re here to tell you it isn’t crazy!
Today, we are going to teach you how to make your own scratch card which will be the perfect gift for Fathers Day. You might need to retrieve some equipment to create it, but it’ll be worth it when you see how amazing it looks – the father will be filled with joy when he sees the three prizes he has won.
Equipment
- 3 Pieces of card ( different colours )
- Scissors
- White Marker
- Sharpie Pen
- Silver Metallic Paint
- Paintbrush
- Clear Tape
- Glue Dots – if possible ( general glue stick will be fine )
- Dish liquid
- Plastic Spoon

The long list of equipment might seem intimidating, but now you have it you’re ready to start crafting. Firstly, cut three square pieces out of one of your cards as this will be where you write the prize your dad has won. Next, use the clear tape and laminate the three pieces of card front to back and use a pair of scissors and trim off the edges.
Next, pour a teaspoon of paint and half a teaspoon of dish liquid into a small plastic container. Give this solution a good stir and when ready, you can paint over the three pieces of card. For this step you might have to paint over the card multiple times, but this isn’t an issue as more paint the better!
Once the paint has dried, you can now start creating the scratch card, so, get your 2 pieces of card that you have left over and the glue dots. Add a glue dot in each corner of the smaller card and simply stick this in the centre of the bigger card you have. Next, glue dot the three smaller cards on top and allow enough space between each one so that it is not all crammed together.
Now the hard part is done, you can go crazy with the decorations – just do not make too much of a mess so the dad won’t see what you’ve created for him!
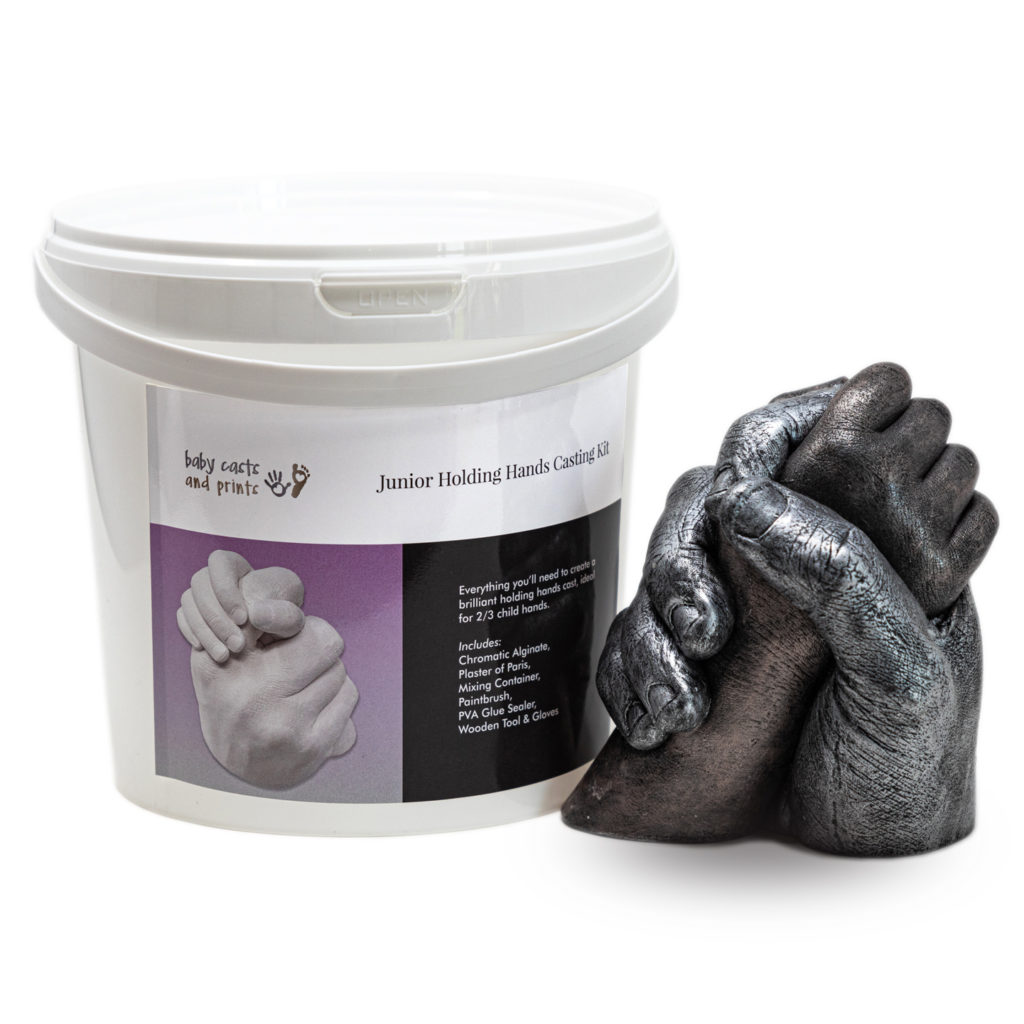
Holding Hands Casting Kit
Another great Father’s Day gift which is certain to put a huge smile on the dad’s face is our stunning holding hands casting kit. You might think, it just looks like a big tub of paint – well in fact, it is so much more and beyond. By following our simple instructions, you can use this so-called ‘tub of paint’ and create a beautiful hand casting.
The kit itself comes with all the tools you need, so you will not have to spend money buying all the equipment needed. One of the beauties of this product is you can create amazing holding hands cast in any combination, and our holding hands casting kit can fit up to 3 hands too, so this is the ideal gift as both parents and their child can get involved. This will enhance the experience even further and make the occasion a lot more memorable, and the best part – you can treasure this for a lifetime.
Cast your whole family’s hands with our Family Hands Bucket Casting Kit. #bucket #family #myfamily #hands pic.twitter.com/qN0wzBwLC7
— Everlasting Castings (@everlastingcast) November 15, 2016
Now you have the casting kit, you can start creating your very own cast. So, to begin with make sure that you practise placing your hand into the supplied container as this will ensure you feel comfortable before beginning the procedure. If you would like the best results, then we advise you to cover your hands in olive oil or petroleum jelly as this will make it much easier for you to remove your hand from the mixture.
Once the alginate changes colour, the setting time should be approximately 2-5 minutes. You will notice the mixture will stick to your wrist, and to get rid of this simply peel the dry alginate off but make sure that your hands are still in the solution until it’s fully white. Now it’s set, you can slowly and carefully remove your hands and prepare to add the plaster.
Ensure the plaster has a smooth and creamy texture and try to remove as many air bubbles as you can with your mixing tool. Now, gradually add the plaster into the mould – little by little and give it a swirl every time you add it, as this will help avoid air bubbles. With all the plaster in the mould you may have some left over, we strongly advise you not to pour any in the sink. To safely remove it, leave it to harden and then dispose in general waste. Your casting kit is now complete!
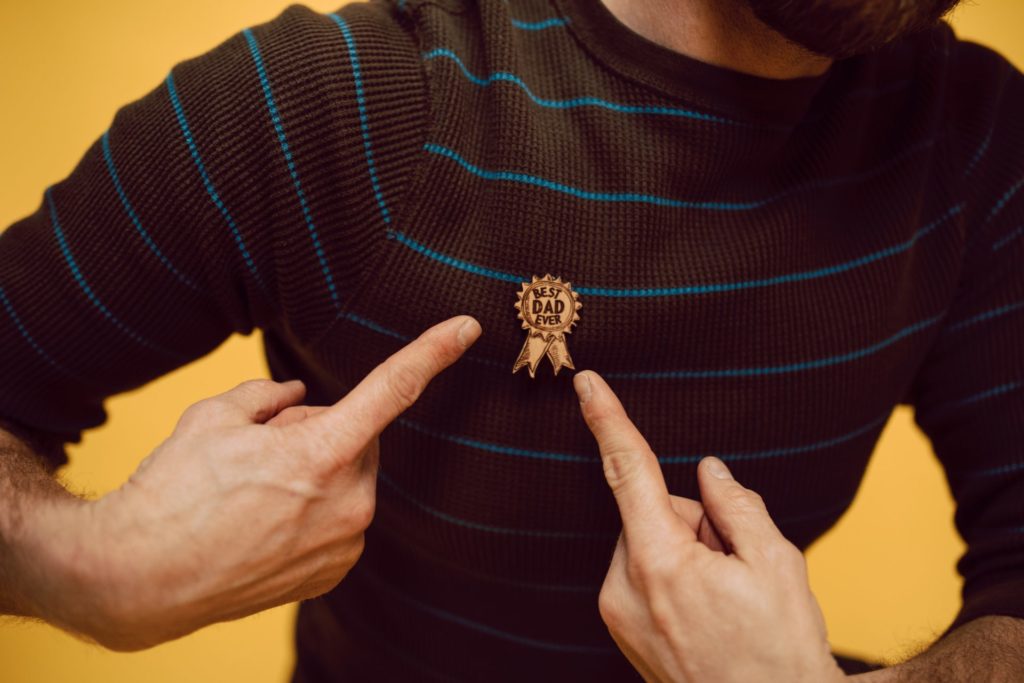
3D Paper Trophy
For all the hard work they do, fathers deserve to have their own trophy. Everyday they are constantly supporting families the best they can, and sometimes this can go unnoticed. So, to show our appreciation we have a gift idea that we are certain will warm all fathers hearts up – especially if it is from the kids.
This idea is tricky and will require help from another adult, but once it is complete it will be worth it! The equipment list is not long; however, you will need the paper to be cardstock or any other heavy paper as it needs to be strong. Also, the paper will need to have patterns on it as this will be a massive help when crafting.
Equipment
- Cardstock
- Pen (that no longer writes)
- Hot Glue
- Scissors
- Pencil
- Ruler
Once you have all the equipment including the pattern paper, you are now ready to get crafting. So, to begin with, use a pen and ruler to mark each fold line and then gently fold those lines – repeat this process with all the fold lines.
Next, to create the wood base of the trophy you will need a dark brown cardstock and make sure that the paper is thick. To save some time, we advise you to print the trophy base pattern on the brown paper as it will speed the process up quicker. Once you have the pattern on, cut it out with some scissors.
Place the wood base patterns to one side and now you are going to use the other patterned shapes on a gold cardstock. If you would like to trace the patterns on the card then you can do, but if you wish to quickly get past this step then you can ensure you already have a gold cardstock with the patterns included on it. Next cut these patterns out.
Now, go back to the wood base patterns and using the hot glue, stick the two pieces together but ensure that they are the correct length. Fold all the fold lines and now it’s ready to be assembled. The easiest way to assemble it together is by attaching the two ends so it makes box shape – hot glue together so it will stay sturdy. Glue the sides together and you should have a strong base for the trophy.
Just Pinned to Celebrate Joy Factory’s 5th Birthday: How To Make A 3D Paper Trophy for Father’s Day Fathers Day Crafts | DI… https://t.co/vUNpZOPGrE pic.twitter.com/0Nn0nWlbDx
— Katie Moritz (@katiejmoritz) June 13, 2018
The next step requires you to be very careful when gluing the pattern together. For the metal base pattern, ensure all fold sections have been folded and carefully glue them together so they are in line. Repeat this process with the bigger metal base pattern.
Once both patterns are built and glued together, now glue the bigger pattern on top of the smaller one and press into place so it’s secure. Hot glue the base of the metal pattern to the wood base and try to centre as much as possible.
If you have made it to the end, then congratulations – you have created your very own 3D paper trophy! Your dad will absolutely adore the time and effort you have put into making this.
DIY Mug Craft
Possibly the simplest craft on our list, designing your very own mug craft might seem simple but it never gets old! Every father loves to have a brew throughout the day and they take great pride in their mug as they will take it to work to use or just keep it in the house.
So, by designing or decorating a mug with their favourite things – this is guaranteed to be loved and he will want to take it everywhere he goes so he can show off! Kids can go crazy with the décor, and use as many colours as they want, preferably their dad’s favourite colours and subjects!
The finishing touch to the mug would have a big sign saying ‘number 1 dad’, as this will just fill their dad with so much love – simple appreciations like this go a long way. Another beauty about a mug gift is that it doesn’t even cost much, you will only need to spend money on decorations and even that will not be expensive. So if you’re on a budget – this is the ideal craft gift for you.
We hope you have some great new gift ideas for Father’s Day, with it only being round the corner! Be sure to get in touch and let us know how you got on.