£0.00
Fun & Exciting Science Crafts for Kids
From an early age, children’s minds are blown away by science experiments as they are at an age where they’re only just beginning to understand how things work. So, we have created a list of fun and exciting science crafts you can try with your kids.
Paper Mache Solar System
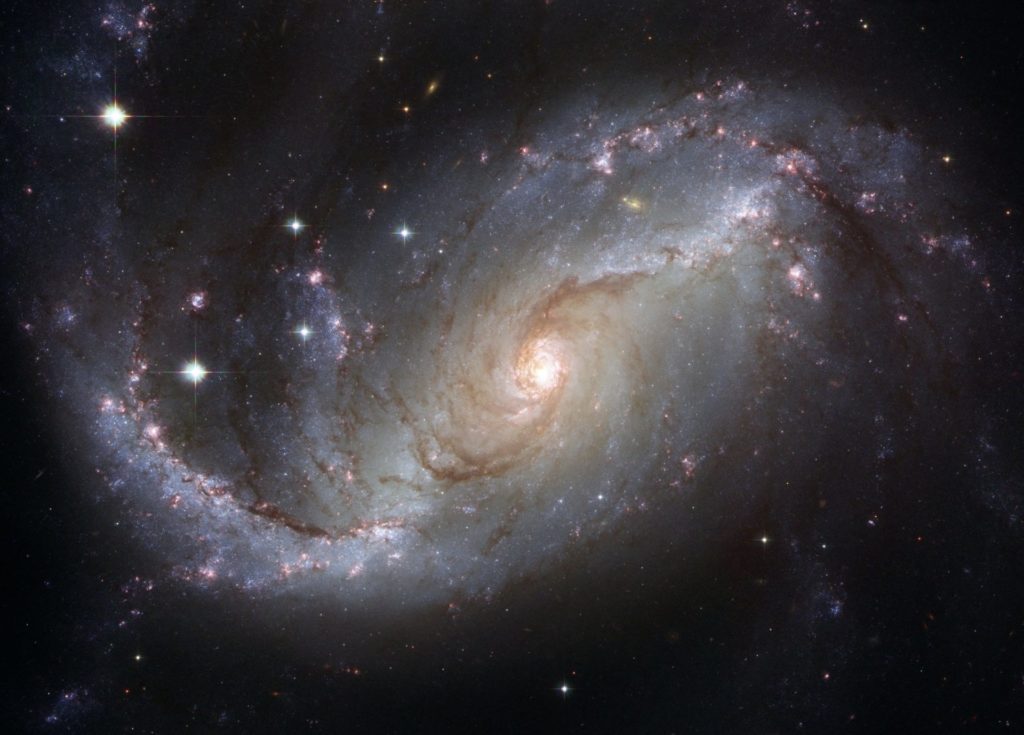
The Solar System. It continues to fascinate everyone around the world from all age groups as there are endless theories surrounding our solar system and the future we have within it. The great scientific minds we have now can only get us so far due to our current technology, which is why teaching children from an early age the basics, could prove to be a masterstroke in the future.
Children will find it fascinating learning about all the different types of planets there are, not just in our solar system but in many other galaxies across the universe. A great starting point in teaching kids to remember all the planets in our system is by following a phrase: ‘My Very Easy Method Just Speeds Up Naming Planets’.
The first letter at the start of each word represents a planet, for example, the letter M stands for Mercury and V stands for Venus – this carries on throughout the phrase. Another great way to give kids a better understanding of the planets is by creating a paper mache solar system. Children can respond to learning better when there are fun activities involved, so by following this list of instructions, you’ll have your very own paper mache solar system in no time!
Supplies:
- Flour
- Water
- Bowl
- Paint
- Round Balloons (If not regular balloons will work too)
- Paint Brush
- Newspaper
- Gloss Paint
Firstly, make your paper mache mixture by mixing flour and water, you want to make it like a thin pancake batter. Now dip strips of newspaper into the flour mixture and wipe away any excess, as you don’t want it too wet.
Next, apply 2 layers of newspaper strips to each balloon and ensure that you overlap them. It doesn’t matter if the surface isn’t smooth, this is a good thing as it adds a more realistic look to the planet. Once this is done leave it to dry overnight, don’t stress if the balloon has shrivelled up – this can happen from time to time.
Now they’re dry, paint each planet with a coat of white primer and let this dry before applying the main colour of the planets. Next, apply 1 layer of colour on each planet then when this has dried, add a darker colour so it has a nice contrast.
With both layers now dried, you can add gloss paint onto each planet so it gives them a nice shine and it will protect them too.
Colourful Baking Soda & Vinegar
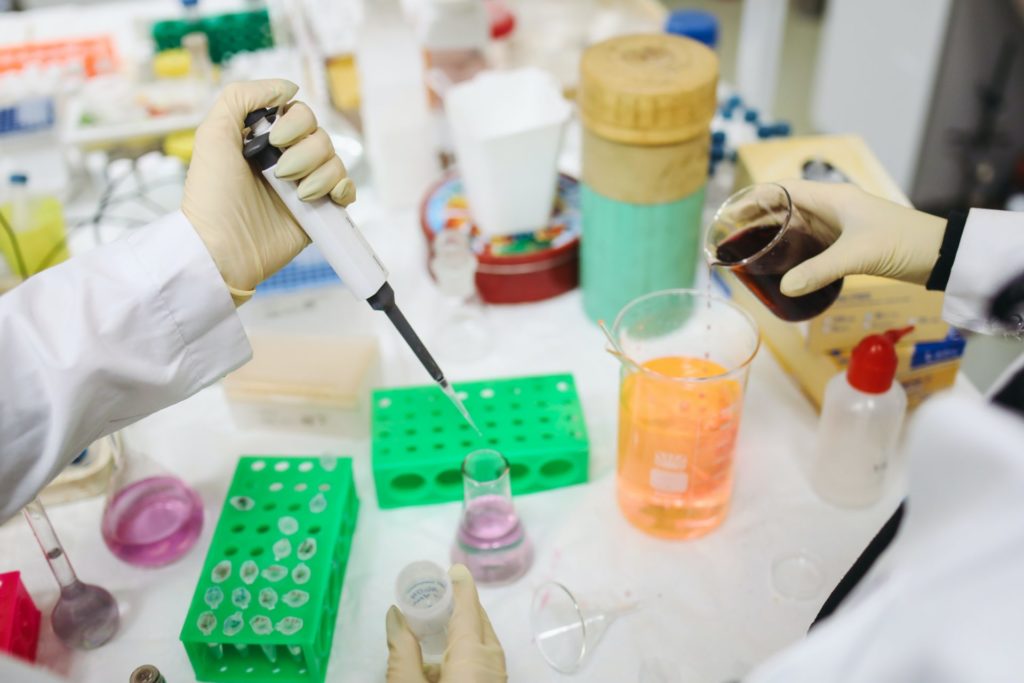
Every kid loves a baking soda with vinegar experiment, as when the soda mixes with the vinegar it creates a reaction and things can get messy to say the least. It’s a simple yet very fun experiment to get involved in, but some children might find this quite repetitive and not interesting to them enough. Fear not – we have an idea that can make it more fun!
To make it more enjoyable, we advise you to test this experiment but with food colouring. By adding food colouring this will give the experiment a more realistic look and you can start getting creative with it. For example, you could decorate the empty bottle so it looks like a volcano and add red colouring so it looks like an actual volcano has just erupted.
You can decorate in many other ways but before doing that, it’s important to know how to create this experiment. By following our simple instructions, you will be able to have fun with this experiment in no time.
Firstly, all you will need is an empty bottle, vinegar, baking soda and food colouring. To begin, add the baking soda to the bottle but only add a couple scoops so it doesn’t get too messy for you. Next, add the food colouring of your choice to the bottle and slowly pour the vinegar in. Now watch your own volcano erupt with fabulous colour, it’s as simple as that!
View this post on Instagram
Colour Changing Flowers
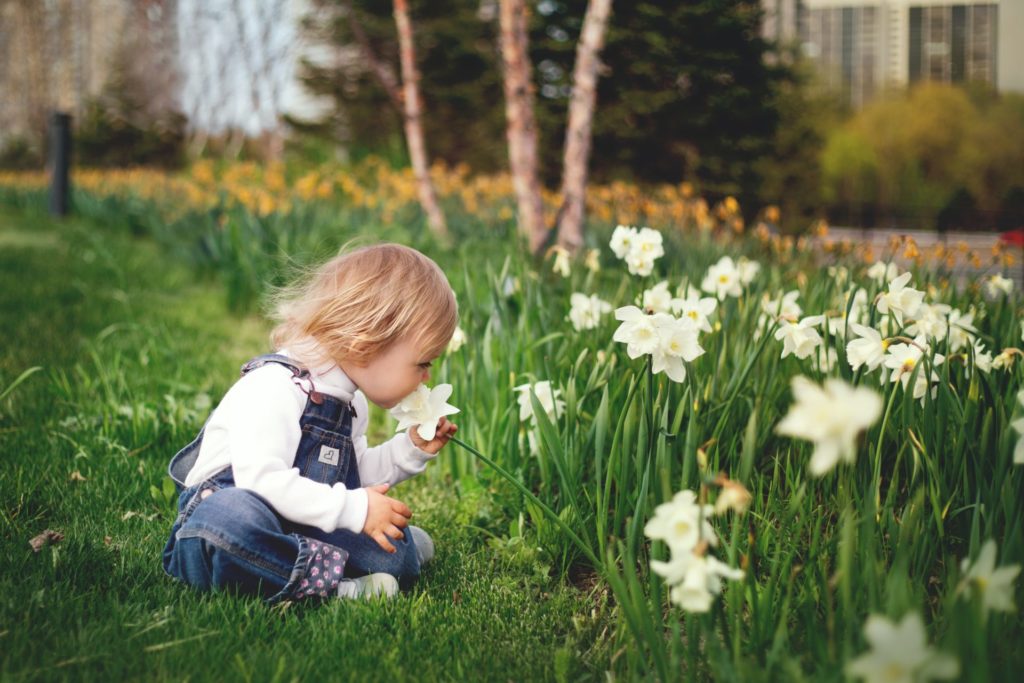
Whatever mood you’re in good or bad, flowers will always bring your mood up even further. Flowers seem to naturally have a positive aura surrounding them which is what attracts people to them so much. They can be used to show affection to a loved one, or quite simply placed around your home to add an extra wow factor to the place.
They come in all shapes and sizes and are bursting with multiple colours which is what can attract your attention instantly. Children might not appreciate flowers when they’re a young age as they don’t understand their true meaning, but like everybody else, kids are attracted to what they see and if a flower has a colour they love – they will hold onto it.
Encouraging kids from an early age the importance of flowers can go a long way, as it will ensure they treat them well and let them grow to their full size. A great way for children to show an appreciation towards flowers is by trying a mini science experiment where they can change their colour.
At a young age, kids can be naive and oblivious to what they see, so by showing and teaching them how to change the colour of a flower will blow their mind away. By following our simple steps, you will be able to teach your child how they can turn a flower into any colour they desire.
Equipment:
- 4 Glass
- 4 White Carnation flowers or any other white flower
- Food colouring in 4 different colours
- Chopping Board
- Sharp knife
Before beginning, make sure you’re supervising your child whilst completing this experiment and when the knife is needed to cut the flowers, ensure the parent does this. Now, fill the glasses half full with water and add a different food colouring into each glass, keep adding till you have a good strong colour, if need be you can stir it.
Next, a parent should cut the ends of the flowers using a sharp knife on the chopping board and cut the stem at a slight diagonal. Put each flower into a glass then place them on a bright, sunny windowsill and leave them for 4 to 6 hours. Keep checking over time to see the flowers change colour, and you’ll be amazed with the end result.
We are investigating if we can change the colour of flowers in Doasbarth Un 🌼🌸 What do you think will happen? #inquisitiveminds #aroundtheground pic.twitter.com/0uygkHyEUa
— St David’s Primary (@stdavidsrc2017) May 9, 2019
DIY Hovercraft
When you think of a hovercraft, we all assume it’s an object or vehicle that can levitate in the air. But when you tell a child this, they’re blown away by the idea and assume that you’re talking nonsense! However, what if we were to tell you that you can create your very own hovercraft and it’s suitable for kids? Well look no further, cause we have the perfect craft for your children to create.
For this activity you will not need much equipment, but we can assure you that you’ll definitely need lots of decorations for your kids to go crazy! All we ask of you, is to read through our instructions and your child will have their very own hovercraft that they can play with this summer.
I love the engagement of student-led science demonstrations for our Star Scientists every week! This week was all about friction and a DIY hovercraft! @epeDCSD #sciencerocks pic.twitter.com/0iqegB1dSE
— Larbus’ Learners (@LarbusL) December 14, 2018
Firstly, you will need an old CD and place it shiny side up so that you can add tons of different decor to it to make it more vibrant and less boring. Once decorated, you will now need a pop top cap which you can get from the top of a sports drink or water bottle. Using hot glue, glue the cap over the centre hole and you want to create a good seel so that when the air gets pushed through there aren’t any leaks.
To ensure the seel is tight, use a little bit of the hot glue to go round the edge of the cap – then your seel will be perfect and secure. Make sure to leave this to dry before continuing to the next step. Next, press down on your pop top cap to seel it then grab a balloon and inflate it by blowing into it. Pinch the neck of the balloon to hold the air in, then you need to slip the neck over the top of your cap and roll it down as far as you can go.
All you need to do now to make it hover is to lift up on the cap and the air from the balloon will begin to release, making your hovercraft start to hover. What makes this so fun and entertaining is you can repeat this multiple times so you have loads of these – you can even race your friends with them!
Crystal Egg Geodes
You may ask, what is a crystal egg geode? But don’t worry if you do not know, we plan on explaining it all here. A crystal geode are stunning pieces of rock which is filled with minerals and have the most vibrant colours inside them. You can buy them from anywhere but they look even cooler when you create them yourselves, so we have an easy method you can follow to create your very own crystal egg geodes.
To create the geodes it’s important that you supervise your kids whilst making them so they don’t do anything wrong or accidentally hurt themselves. To begin, you are going to need to blow out an egg and the best way to do this is to use a pin and poke a hole at the top and bottom of the egg.
Now the holes are in place, let the membrane pour out of the egg shell into a cup so it doesn’t make a mess. Using scissors, gently and slowly cut the shell and clean the insides so you can then add a couple drops of glue. Brush the glue on the outer edges of the shell and when you’re happy with it, then sprinkle Aluminium Sulphate generously over the glue.
Let an adult do this step as Aluminium Sulphate can be very irritable to the eyes, skin and lungs. Once this step is done, leave to dry overnight and then the magic will start to commence. Now, you will need a jug of boiled water, 30 drops of food colouring and a ¾ cup of Aluminium Sulphate. Add your Sulphate to the hot water and then your 30 drops of food colouring, give this a good stir and leave to cool for 30 minutes.
Now the mixture is cool, pour the mixture into 2 cups evenly and place the egg shells into the cups. Use a spoon to push them down to the bottom gently and now wait 12-15 hours for the crystals to form!
View this post on Instagram
We hope you enjoyed reading our list of fun science experiments for your kids to try. If you’ve tried any of these crafts, get in touch and let us know how you got on.