Spooky Halloween hand cast ideas
Get stuck in with this year’s Halloween decorations rather than just going to your local store. Here are a few Halloween decoration ideas you can do just using our hands casting kit. All the family can get stuck in and these will last throughout the years!
Before starting any of these casts the same advice must be followed for each. Firstly, make sure you have a clean workspace before you begin. To avoid any unwanted mess it is best to put a mat you don’t mind getting dirty down first.
Read through the cast instructions on what you need to do for the cast mixture before you start. And then you are ready to make your spooky hand cast!
Zombie Hands
First up we have our Zombie’s hands. This cast is perfect if you have a front lawn, but can still work if not. The idea behind this cast is for it to seem as though zombies are appearing from underneath your lawn.
Firstly, you want to make sure you have followed the instructions above, so you are prepared to begin. For this decoration, any size cast can be used. To complete this cast you want to form your hands into an open hand with your fingers slightly bent at different angles. This will look like a hand rising out of the dirt. You also want to ensure that you have placed a good amount of your wrist in the mold as well, as you want to be able to stand the cast upright on the ground once it’s finished.
After you have added cast mixture to the mold and allowed it to be set and removed, you can then go about going over the cast and removing any air bubbles with a toothpick. Once the cast is 100% dry you can paint it. For this design, I recommend going for a green color on the hand with black paint for the fingernails. As a bonus, you can add red and purple patches so the skin looks bruised as well.

Spooky sweet bowl
Next up is my spooky sweet bowl, tired of giving out sweets in a boring bucket? Try out this cast to make handing out sweets to trick or treaters more fun!
Once again, make sure you have followed all prior instructions so that you are prepped and ready to create your cast. For this creation, it would be good to use a couple of family hand casting kits as you have to be able to fit both your hands in the casting bucket, in a wide position. When placing your hands in the bucket you want to place them next to each other forming a bowl-like shape. This way you can put sweets in the cast once it is dry and painted. Don’t forget, you also want to make sure you haven’t left any gaps where sweets might fall through!
Once you have taken the cast out of the mold and removed any air bubbles you can paint the cast however you want. To follow the Halloween spirit, green or purple hands would fit well, or maybe even paint them skin-colored to make them more realistic. The choice is entirely yours, you really can paint them any color you want. As a bonus for even more spooky spirit, you could add some fake blood on the hands too.

‘Thing’ hand cast
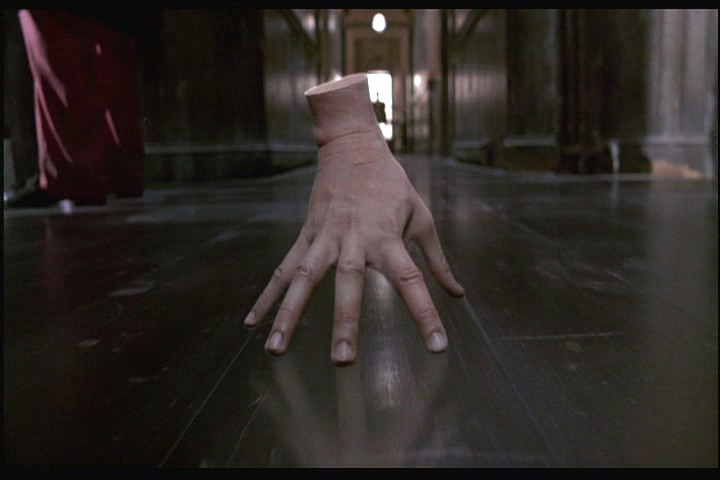
Are you a fan of the Addams Family? Then you’ll love this next cast idea. This spooky casting was inspired by ‘thing’ in the Addams family and is the perfect indoor Halloween decoration.
For this cast, you can use any size casting bucket. As a reminder, ensure the instructions at the start are complete so you are ready for the following instructions. Before placing your hand in the bucket you might want to practice how you will position your hand, as it will be standing on the fingertips rather than the wrist. You want to ensure your fingers are stretched and spread out, with your thumb facing downwards ready to hold the weight of the cast.
Once the cast is dried and removed from the mold you can then paint the cast skin-colored to look like a life-like hand – just like a ‘thing’. Or if you are one for the Addams Family classics you can try to paint the cast black and white, just as ‘thing’ was originally shown.
Hand Candle
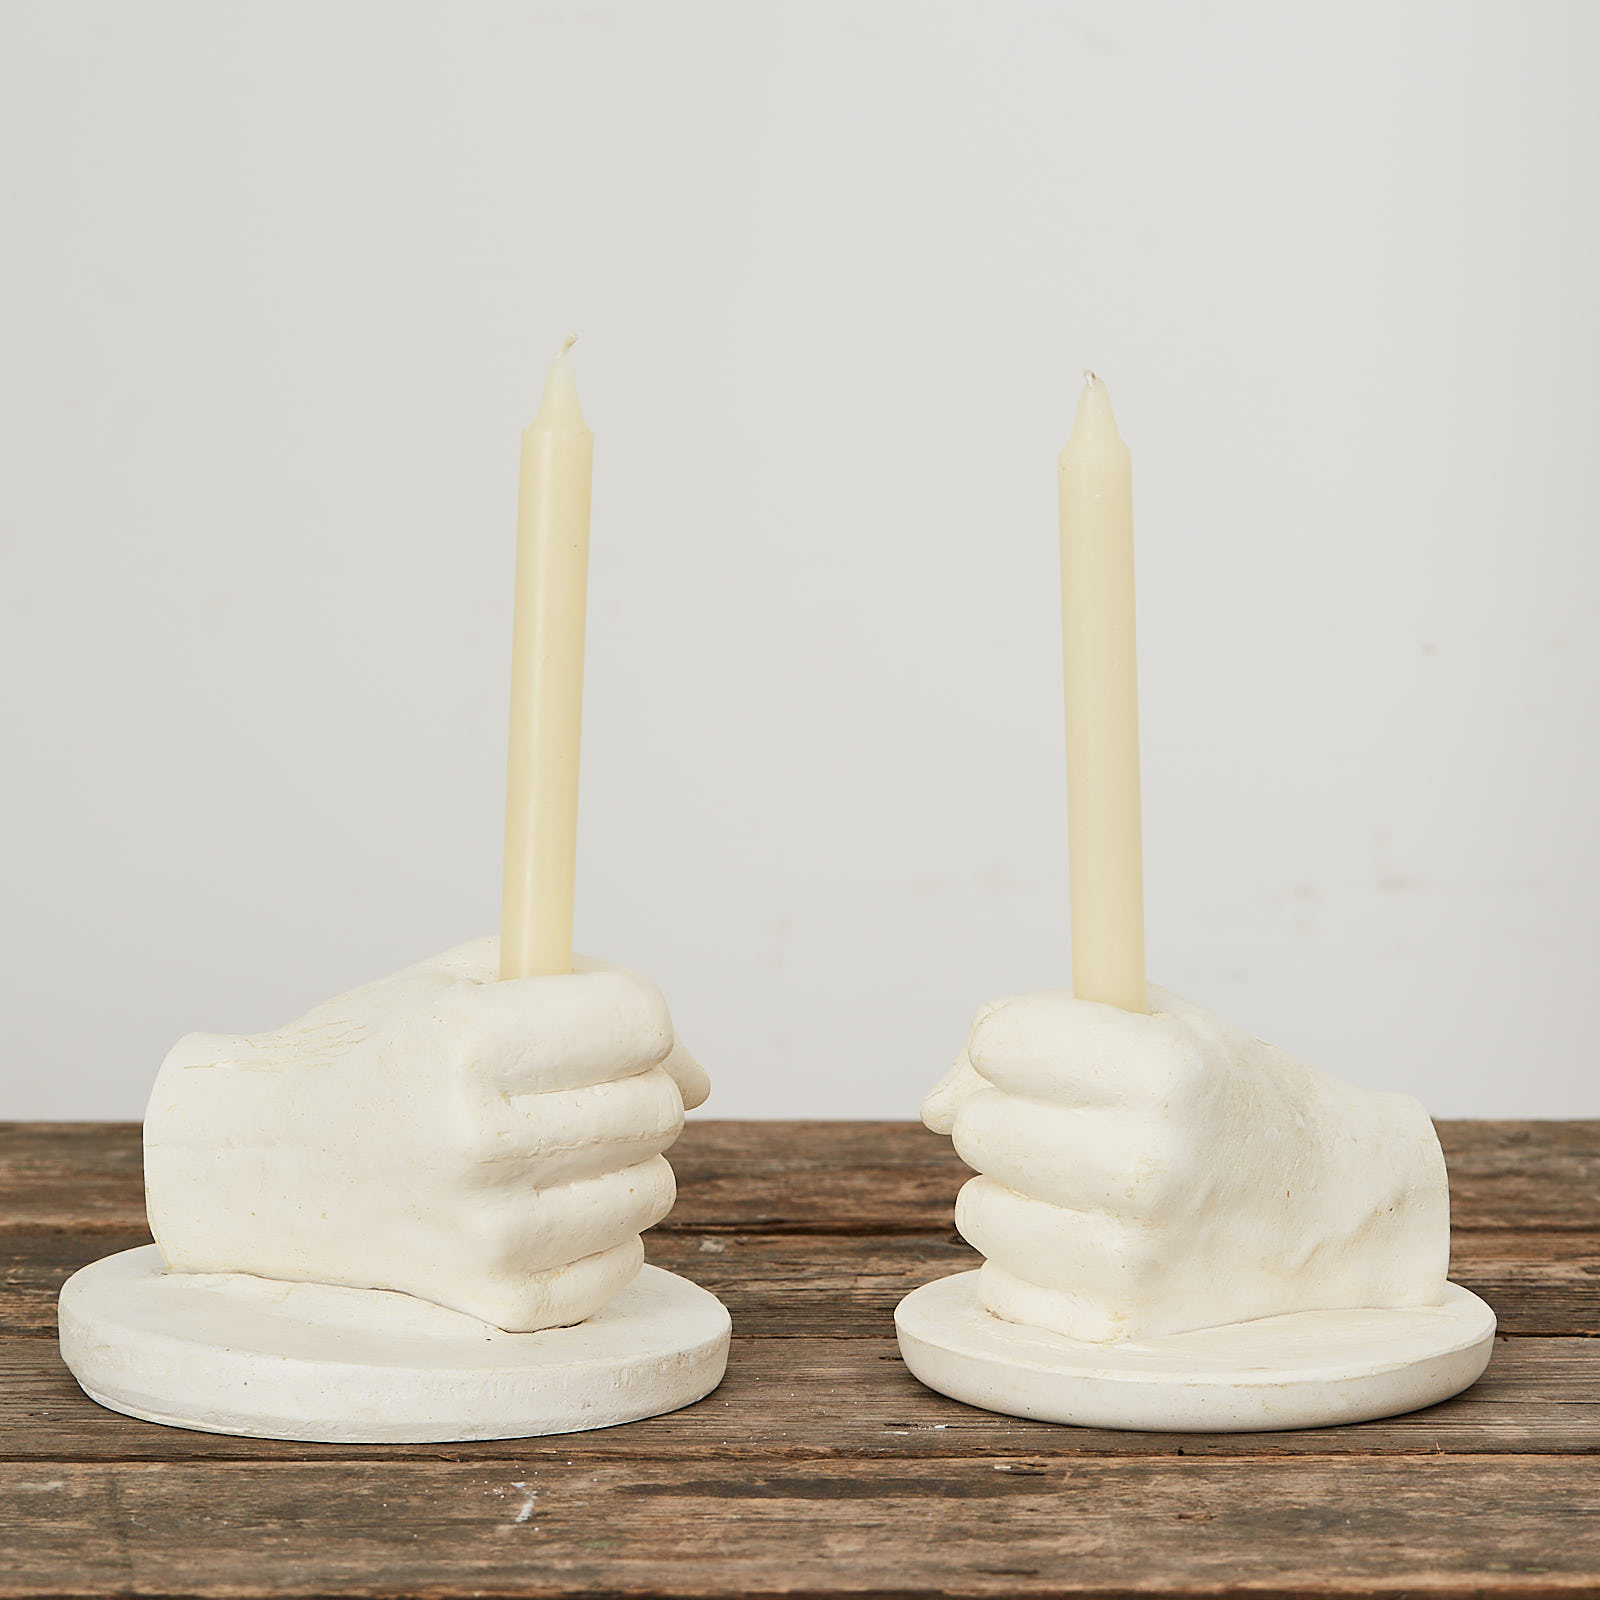
Finally, we have the hand candle cast. This cast is perfect for both indoor and outdoor decoration. The only extra item you will need is a thin candle to place in the middle of the cast.
Make sure the first set of instructions are complete so you can proceed with the following steps. For this cast, you can use any sized casting bucket. Before placing your hand in the mixture, take the candle you want to be held and make your hand into a fist shape. Then place the candle in the middle of your fist and keep the hole that is made. The finished cast will then be able to securely hold your candle. Place your fist into the cast mixture, still keeping the gap where the candle will be.
Once the mold is dried you can then ensure the candle fits before proceeding to remove any air bubbles and paint the finished cast. Once everything fits and is ready to be painted, I recommend black or silver paint for the finished cast. As a bonus, you could even paint the cast black and then add a thin layer of silver paint so the black still shows through.
I wish you all a Happy Halloween and I hope these decorations bring you all some fun for the spooky season!
Image references:

