Baby casting explained: Stunning results & 100% safe
A baby cast is a great family gift, and something for you to keep forever to remember your little ones at the size they are now. However, we understand that you might have concerns about the process of doing anything, because naturally, when you’ve got a newborn, a lot of things become a worry.
Because of this, we get that it’s helpful for you to know the ins and outs of the process, before you commit to it, which is why we’ve put together this handy guide, taking you step by step through the creation of a baby casting.
Firstly, we create the moulding mixture we use on your baby, by blending together water and an impression powder known as alginate. The material is entirely safe, and is both non-toxic and biodegradable, having been thoroughly tested by experts. This mixture is created and kept in a small plastic tub, is then gently squeezed around the foot or hand of your baby until it sets. If your baby has dry skin, then it’s recommended the area is moisturised before this step. Once the mixture has set around the limb, it can be easily pulled away.

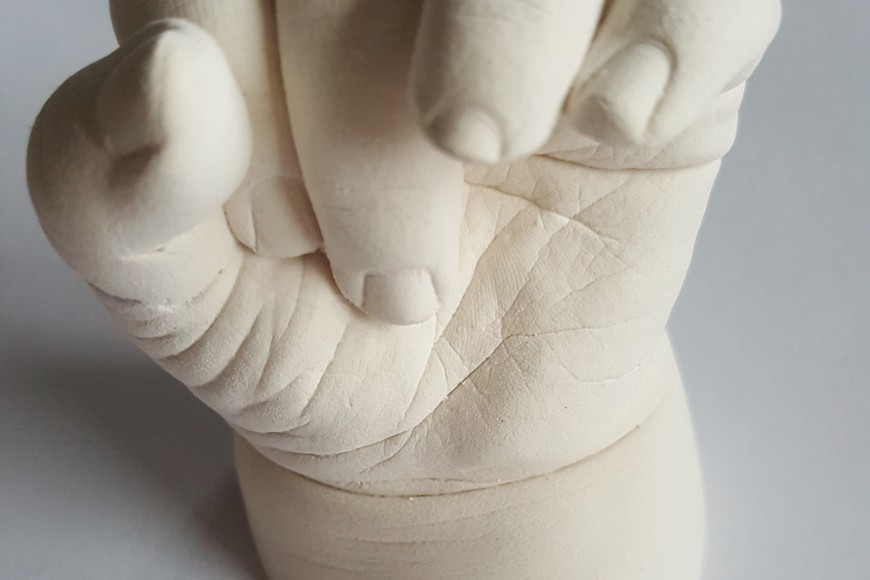
And that’s it – everything we needed to do with your baby has been done, and it’s over to us to complete the beautifully finished product. The next step in the process sees us mix our casting powder with water and pour it into the hollowed mould of your child’s hand or foot. After ensuring no air bubbles are trapped in the mixture, we leave the cast to dry, and a few hours later it’s ready for the next step. We can now peel away the original mould, to reveal the cast inside. Because of the method used to do this, it means we can only get one cast from each mould, due to us breaking up the mould to get to the cast. Sometimes, the cast can be a bit fragile, and it’s possible a finger or toe could be snapped off during this stage. This isn’t a problem though, as after everything has fully dried out, we can glue pieces back together accurately with no visible damage.
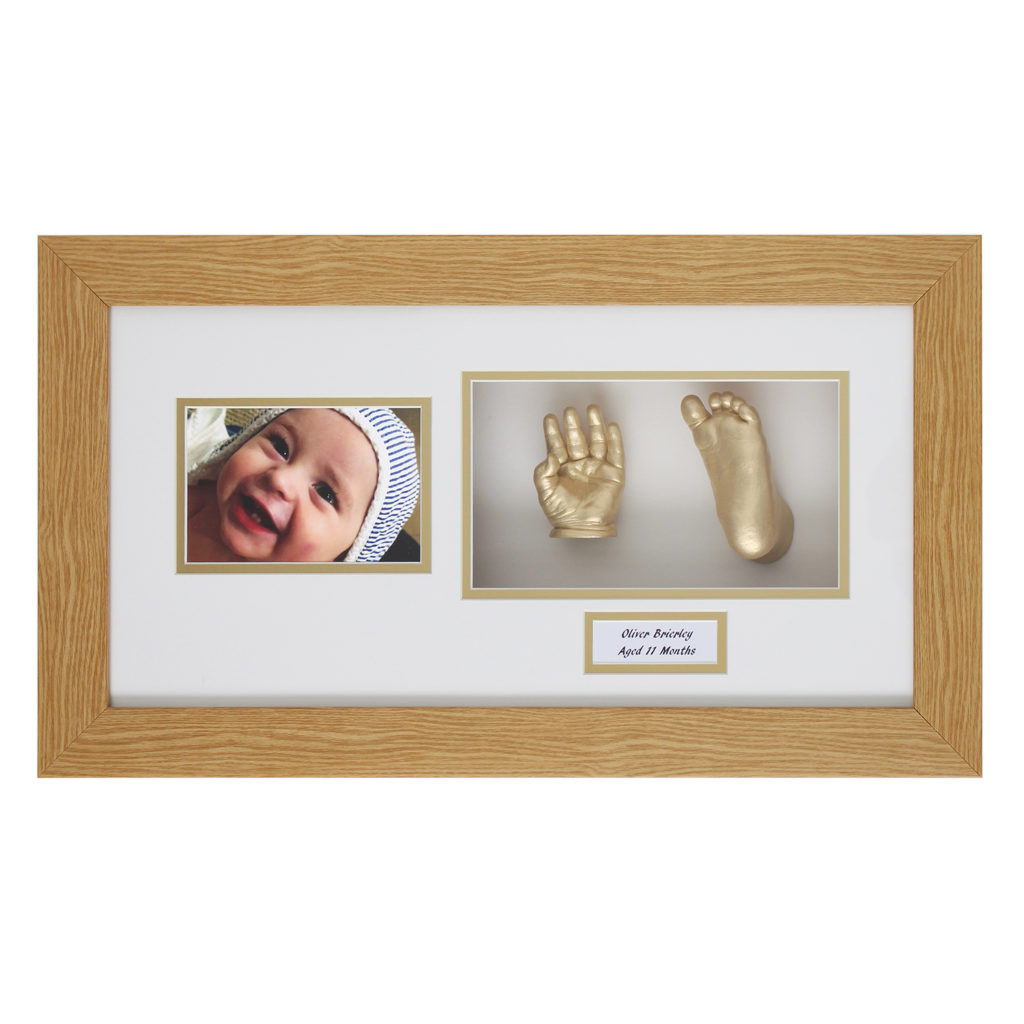
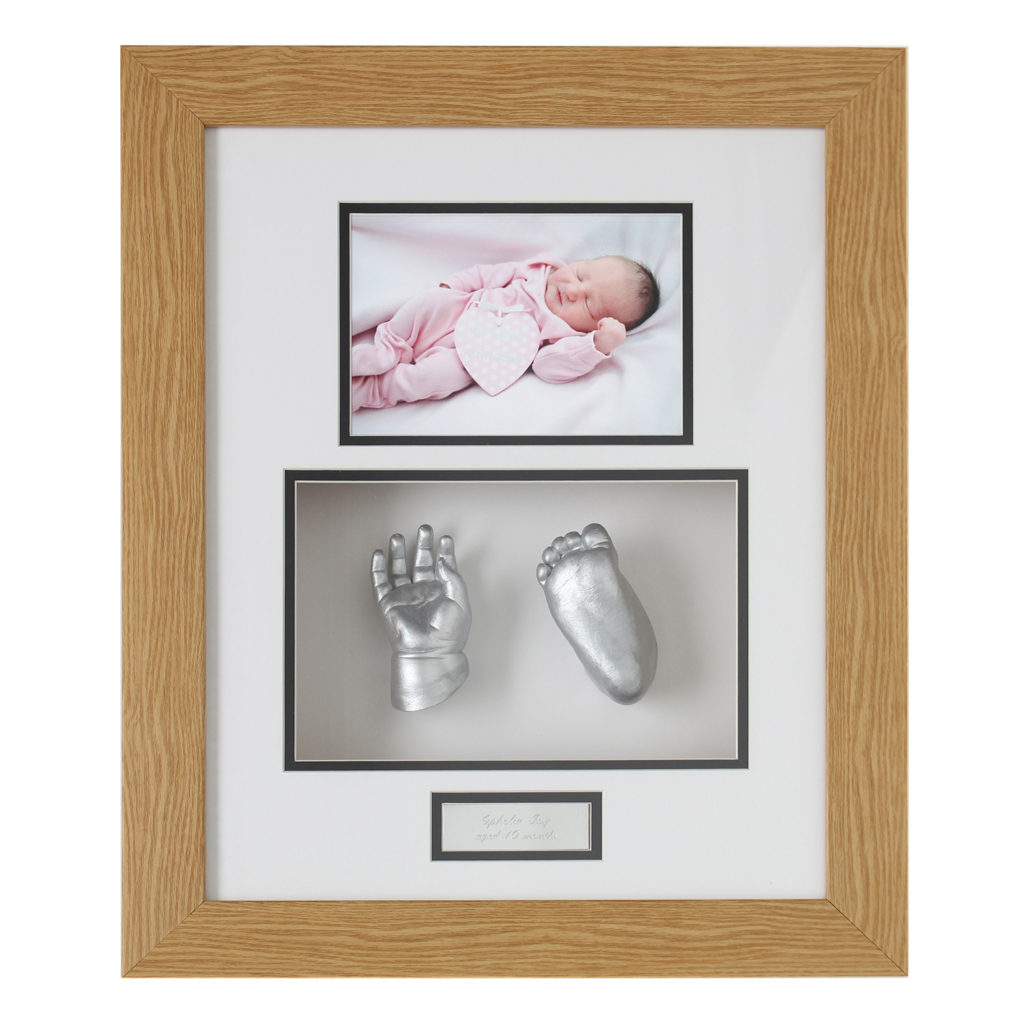
Finally, the cast is painted, usually in a stylish silver or gold, or any other colour of your choice. After it has dried, it’s mounted inside a special box frame, sometimes alongside a photo of your baby and a name card, depending on what style casting you choose. To ensure the top of the cast (the ankle or wrist depending on the limb chosen) is level for mounting, we sometimes grate or sand it to be smooth and straight for the frame. Overall, the process can take several days, as we have to wait 2-3 days before painting, and then of course some more time before the paint has dried enough for us to move on to mounting.

So there you go – a complete guide to how we go about making baby casts. The process is quick and completely safe and stress free for your baby, and once the initial moulding is done, it’s over to us to turn the mould into a stunning, precious gift and memory.
If you’re interested in getting a cast made with your baby, and want to find out more or organise an appointment, then contact us now by using this form, giving us a ring on 0161 533 1060 or emailing us at [email protected]. We look forward to hearing from you!

